How to use CPR PRAYAS™
PRAYAS guides you, step by step. From finding an unresponsive person to help arriving, it guides every push with voice, light, and vibration.
5 simple steps, under 30 seconds
Anyone can follow this — no training needed. Each step takes seconds; PRAYAS guides the rest.
Check & call
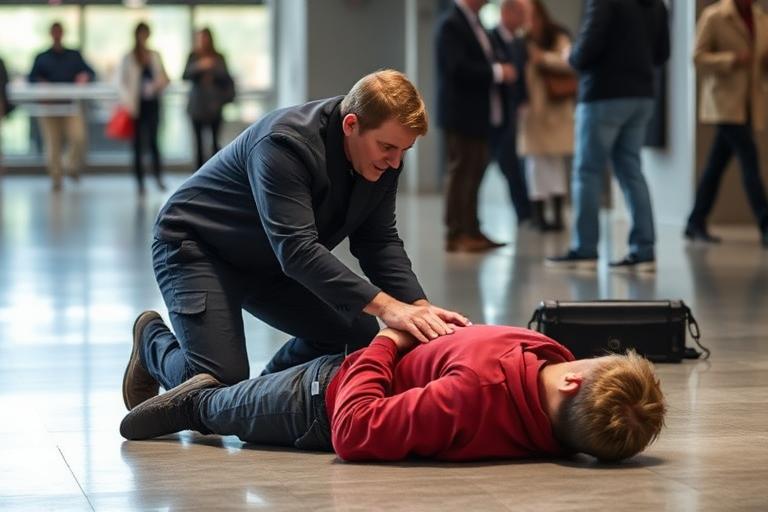
~5 secTap the shoulders and shout. No response, or only gasping? Call your local emergency number on speaker.
Gasping is not breathing. Start CPR right away.
Place PRAYAS
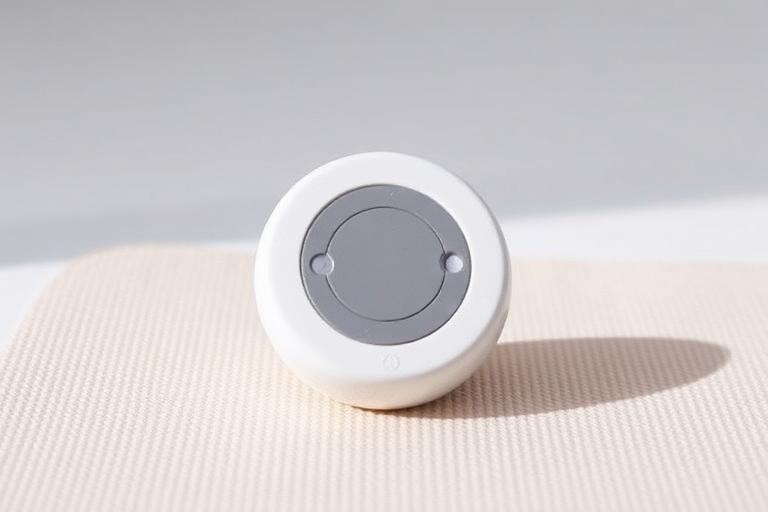
~5 secExpose the chest. Place the device flat on the lower half of the breastbone, centered between the nipples. The grip shape shows the right direction.
Use a firm, flat surface only. Never on a mattress alone.
Press power
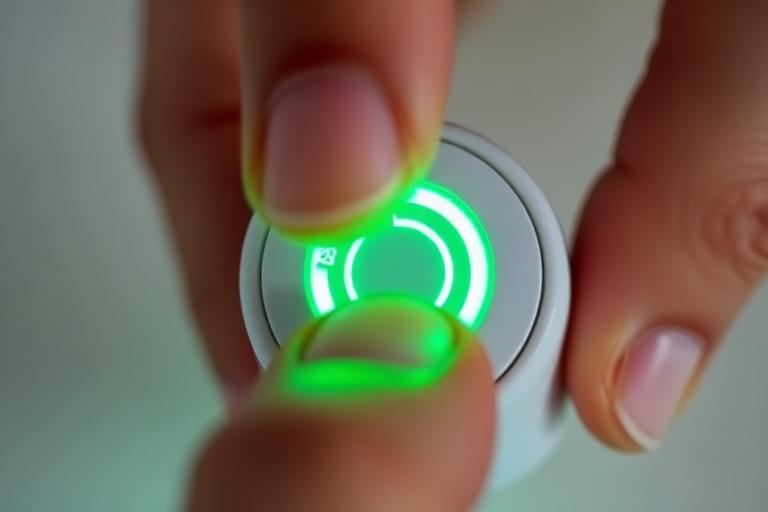
1 secPress once to wake the device. You will hear a ready tone, then a 3-2-1 countdown before the beat starts.
Green LED means ready. Wait for the tone before you start pushing.
Push with your body
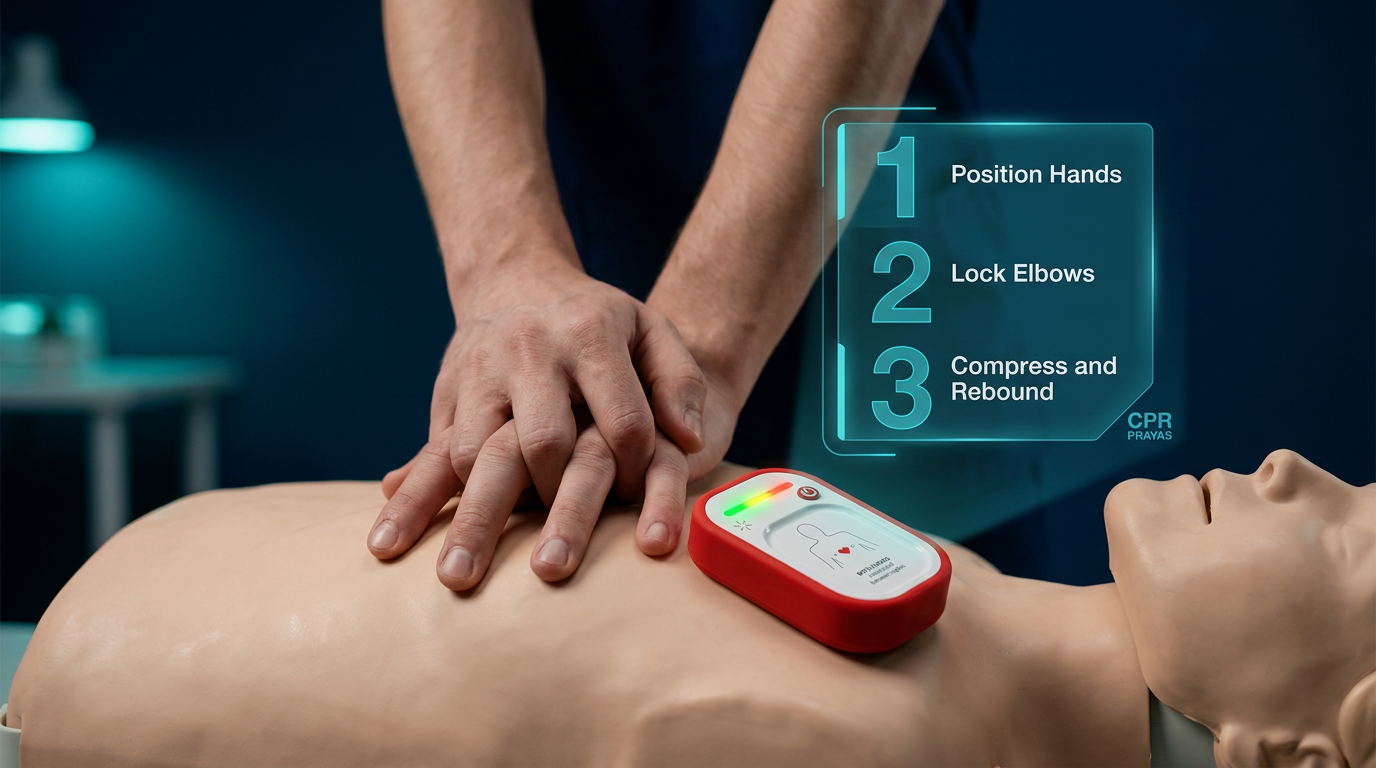
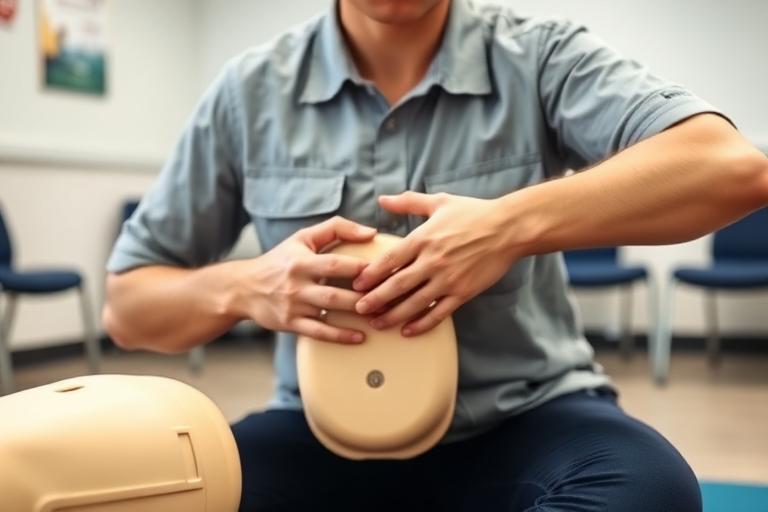
continuousLock your elbows, keep shoulders over hands, and push to the beat. Aim for 5–6 cm depth at 100–120 pushes per minute. PRAYAS alerts you if you go off track.
Let the chest rise fully between pushes.
Follow the feedback
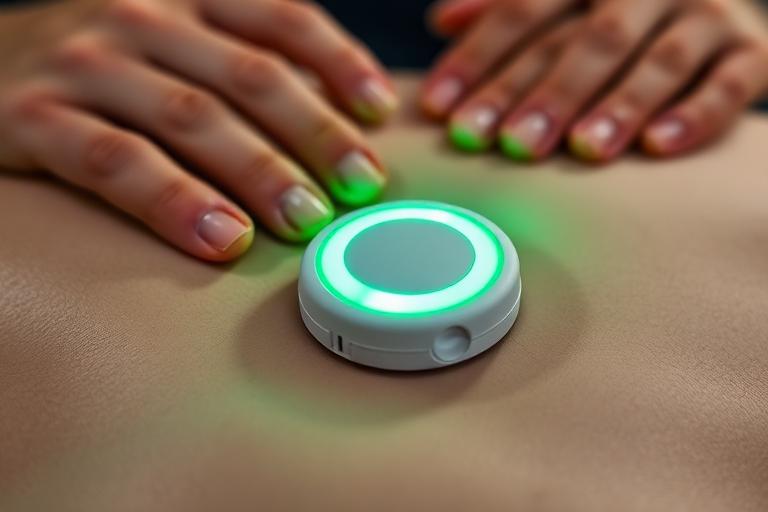
until help arrivesListen to voice cues and watch the LED ring. Green means good, amber means adjust, red means stop. Swap rescuers every 2 minutes if you can.
Do not stop unless the AED or a responder tells you to.
Any CPR is better than no CPR.
PRAYAS lets an untrained person act fast — in the first minute, when it matters most.
Voice, LED & vibration cues
Live corrections keep your compressions effective.
Voice prompts
- ♪Push deeperYour compression is under 5 cm. Push harder.
- ♪Push softerYour compression is over 6 cm. Push a bit lighter.
- ♪FasterYour rate is below 100/min. Match the beat to speed up.
- ♪SlowerYour rate is above 120/min. Slow down for a full recoil.
- ♪Good compressionsDepth and rate match AHA guidelines.
- ♪Switch rescuerTiredness detected. Swap with another responder.
Green LED ring
A steady green glow means depth, rate, and recoil all match the AHA 2025 target. Keep going, just as you are.
Amber pulse alert
Amber flashes warn you one thing is off — depth too shallow, rate too fast, or recoil incomplete. Adjust until it turns green.
Red stop cue
A red ring with an urgent tone means: hands off, AED has arrived, or a safety pause is needed. Follow the dispatcher or AED instructions.
Do's & don'ts
Small habits make a big difference to CPR quality.
Do
- Place the device on a firm, flat surface or a backboard, if you can
- Lock your elbows and use your body weight to push
- Let the chest rise fully between compressions
- Keep the device centered on the lower breastbone
- Follow the beat to keep a steady rate
- Swap rescuers every 2 minutes to keep up quality
Don't
- Do not lean on the chest between compressions
- Do not place PRAYAS on the ribs, stomach, or upper breastbone
- Do not ignore amber alerts. Adjust right away
- Do not stop compressions unless told by help or an AED
- Do not use on infants or young children below the device's age limit
- Do not dip the device in water. It resists water, not diving
Practice before a real emergency
Built-in training mode
Hold the power button for 3 seconds to start Training Mode. It runs a 2-minute guided practice with simulated feedback, no emergency alerts, and a score at the end.
- Practice compressions on a manikin or firm cushion
- Get the same voice and LED feedback as real mode
- Check depth, rate, and recoil scores after each session
- Use the mobile app to track your team's training history
Battery, storage & care
Charge monthly
A full charge lasts up to 12 months on standby. Charge it via USB-C after every real use.
Self-test on power-on
PRAYAS checks its sensors and battery every time it wakes up. Wait for the ready tone before starting CPR.
Store in the wall case
Keep the device in its wall case near AEDs or first-aid points, so it is easy to grab.
Check every 3 months
Look for cracks, dirt, or moisture inside. Wipe it clean with a medical-grade disinfectant wipe.
Train your team with CPR PRAYAS™
Book a live demo and certification workshop for your hospital, hotel, school, or office.